Yes, this is crazy hot. Trust me. You only need a tiny amount (1-2 teaspoons) for a taco to get why this is so good. I add a tablespoon to a bowl of soup. Blend some with mayonnaise for a sandwich.
I make this in big batches and freeze in quart containers. (See below)
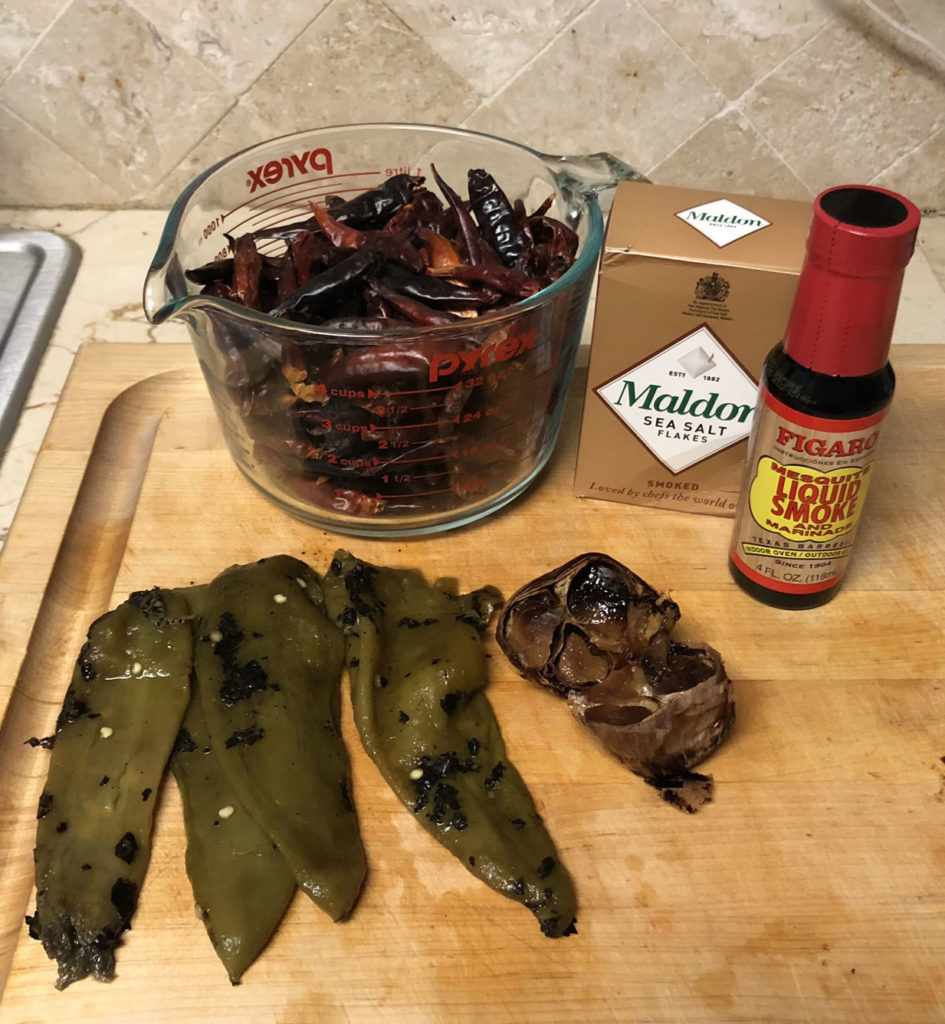
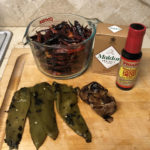
Here’s what you need for a small batch. 3 cups of chile de arbol, 4 roasted Hatch chiles, 1 head of roasted garlic, smoked Maldon salt, and liquid smoke (I use mesquite).
NOTE: Chile de arbol is a cousin to cayenne. Very similar taste. So, you can buy whole dried chile cayenne, and not miss too much. And green Hatch chiles are from Hatch, New Mexico. Anaheim chiles are very similar and in most markets. I use hot, or spicy one.Hatch peppers online are like ordering bars of gold. Dang expensive. So, use Anaheim.
Ingredients for one batch.
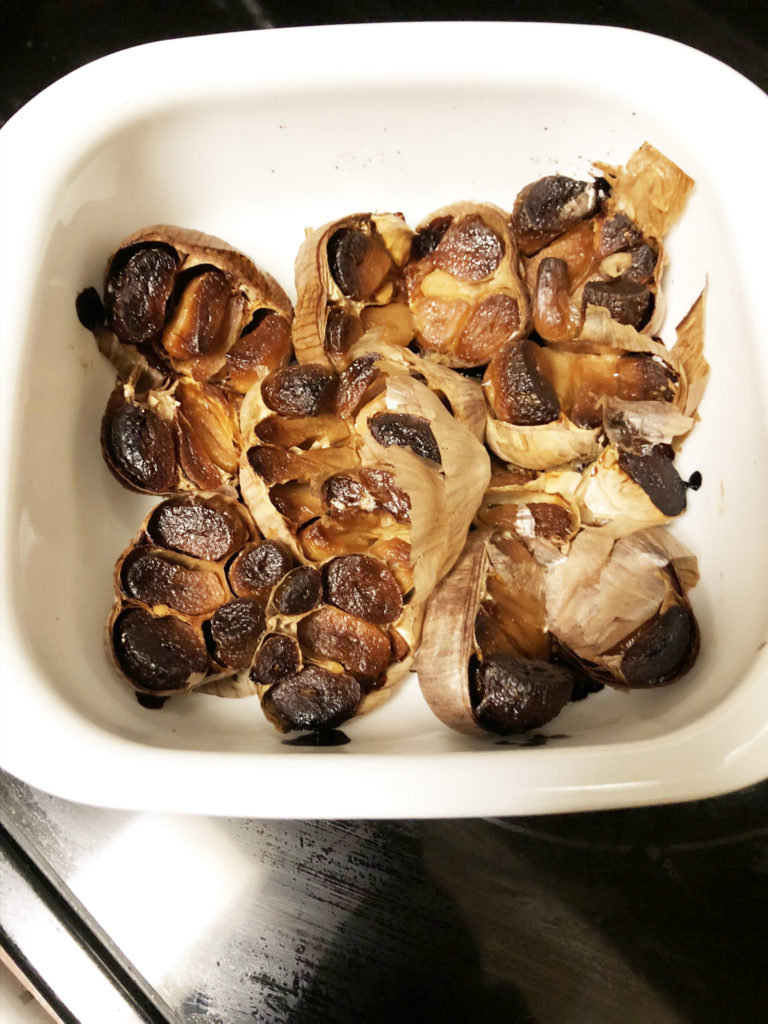
The first thing I do is roast a whole bunch of garlic in my oven. I roast them in a Pyrex dish (with a lid), cut them in half, drizzle the cut sides with some olive oil. I roast them, covered, at 350 degrees for 2 hours. My whole apartment smells like roasted garlic. This can be done a few days ahead if you place the roasted garlic in the fridge.
The second step is to roast the dried Chile de arbol. You want o use the most pliable chiles,severely dried ones don’t have as much flavor. If your town has a Mexican Market, try shopping there. Chile de arbols have s fruity flavor. That being said, most folks will only get heat if they aren’t used to spicy foods.
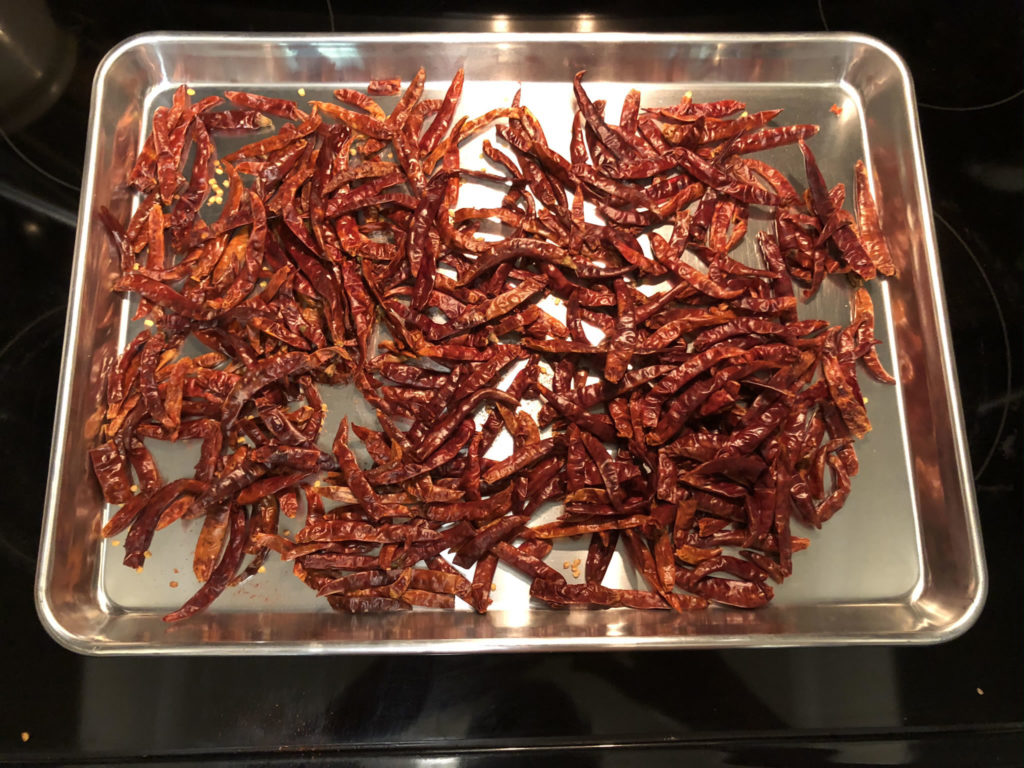
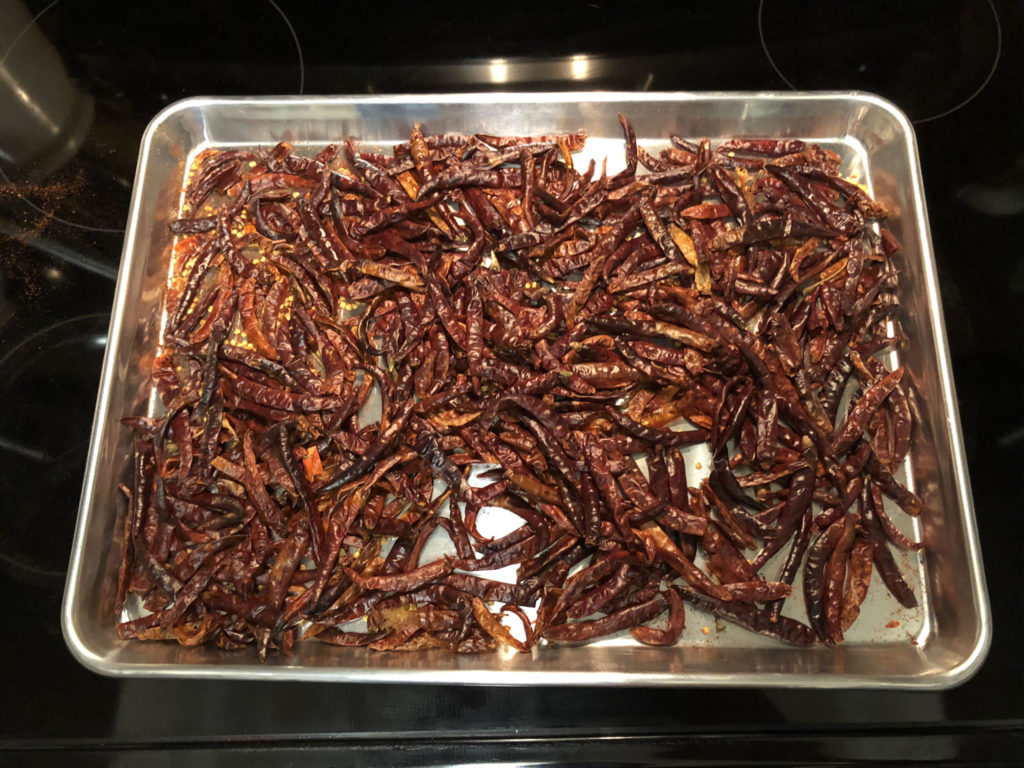
I set the oven to 350 degrees, place the chiles on a half-sheet pan. I place the half-sheet pan in the middle of the oven. Since each bunch of chiles are different so my advice is to have them in for 4-ish minutes. Take a peek to see how much darker they are. Once that side of the cjhile is 2-3 shade darker, then take the whole sheet pan, and chiles out, and I do what I call a “scoop and flip”. I try to flip the dark chiles over, and expose the other side of the chiles. This is not a precise event at all. Do the best you can, then place the pan and chiles back in the oven for another 4-ish minutes. See picks below for before and after. It took me a few batches to get when to look and pull the chiles.
Before
After
Once you get your chiles roasted, you will need 3 cups for a quart batch (approximate).
Once again. Here’s what you need for a small (quart) batch. 3 cups of chile de arbol, 4 roasted Hatch chiles, 1 head of roasted garlic, smoked Maldon salt, and liquid smoke (I use mesquite).
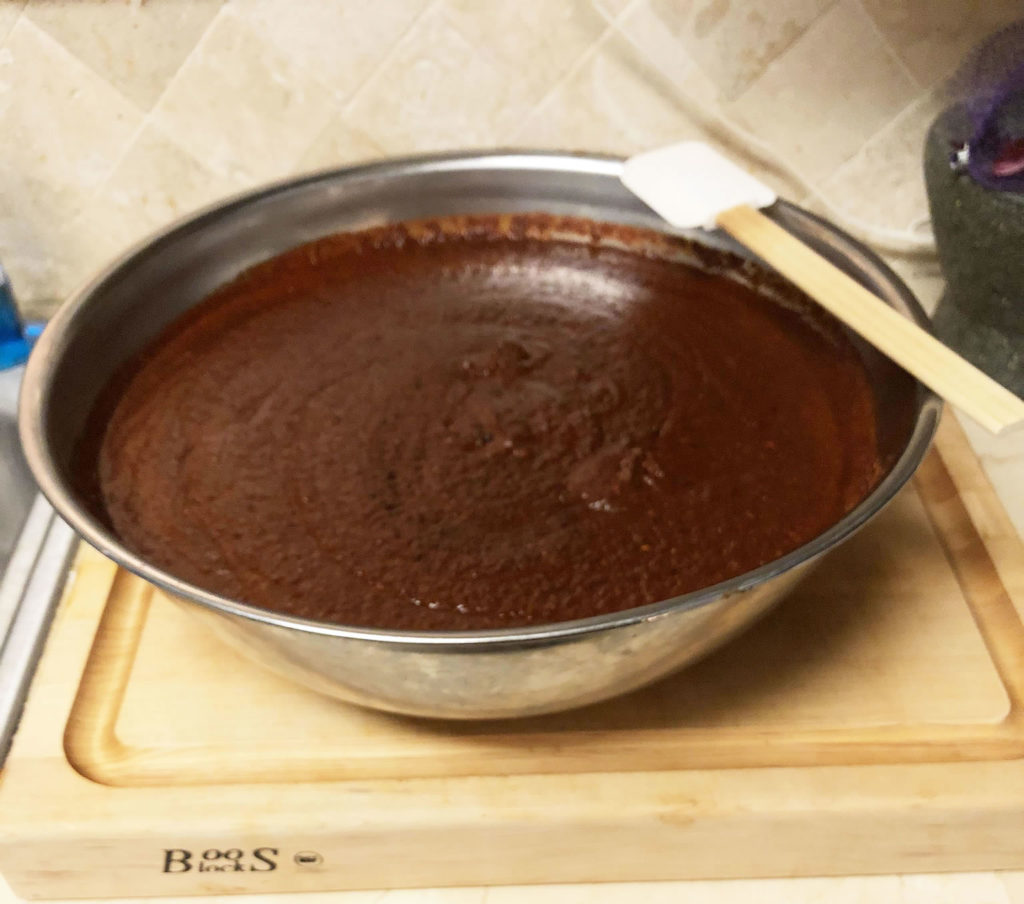
Final result. Okay, this is 6+ quarts.
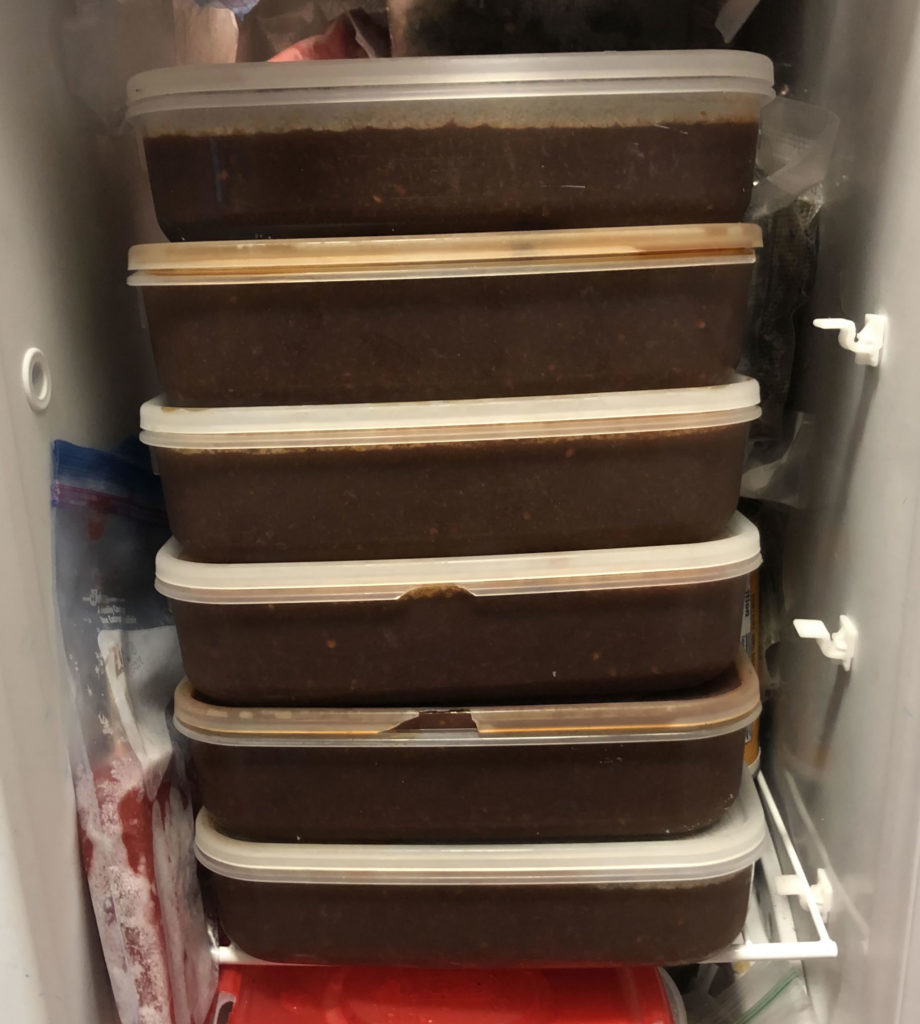
Here’s that batch all tucked away in quart containers in my freezer. If you make a number of batches, and want to freeze some, you’ll need to know this. Take a quart (or whatever you froze it in) out of your freezer, Place itto a pot big enough to hold the frozen block. Then turn on low heat to defrost it. Once defrosted, you’ll want to bring it to a boil, then take it off the heat. That will bring the parts back together. and ready for serving.
This salsa can lastt in your fridge for a few weeks. It will last longer if used regularly. If bad, it will have a translucent white-ish sludge on top. (Yuk!) Then, it has gone bad and can’t be revived, toss it and make some more. If your salsa is still dark red (see pic) you can always boil it again. Then place back in fridge. Use your common sense.
Loco Salsa Roja
Ingredients
- 3 cups of chile de arbol
- 4 roasted Hatch green chiles
- 1 head of roasted garlic
- 2 teaspoons smoked Maldon salt
- 2 teaspoons liquid smoke (I use mesquite)
- olive oil
Instructions
- Take the head of garlic and cut in half along the equator of the bulb. Place them in a oven-proof baking dish that has a lid. Please the cut garlic head into the baking dish and drizzle a little olive oil over the cut parts. Place a lid, or foil over the baking dish to cover. Roast the garlic (covered) at 350 degrees for 2 hours.
- Pre-heat your oven to 350 degrees. Place 3 cup of dried chile de arbols on a clean, half-sheet pan, place in pre-heated oven in a middle-high rack position. Roast for 4-5 minutes. Peek earlier as some very dried chiles will cook quicker. Most of the brick red chiles should now be dark brown. Take out of the oven, and “scoop and flip” the chiles exposing the bright red brick colored chiles bottom sides that didn’t get any color, now these are mostly exposed and the darker parts of the chiles are mostly facing down. Place the sheet pan back in the oven for another 4-5 minutes. We are looking for a mostly dark brown chiles surface and not too many black ones. That is why it is important to peek at 3 minutes if you smell a strong aroma. Once the batch is mostly brown, pull out of the oven and let cool. You can hold the chiles for a few days at room temperature. I don’t place them in plastic, I use a paper bag to let them breathe.
- Gather all the ingredients. Place the chiles in a small pan with a lid. Place your hand on the chiles just soft enough to keep them from floating while you add water to the pan. Keep holding the chiles down and add enough water to barely cover the chiles. Place on a medium-high burner and bring to a boil. Once at a boil, remove the pan from the heat and let sit for 10 minutes.
- Meanwhile, and to a high-speed blender or a food processor, all the other ingredients. Then, pour the contents of the pan, water and chiles into the blender or food processor. Blend/process at the highest speed until almost smooth. A little texture is nice. If you prefer, you can process until smooth.
- Pour out into a bowl and enjoy!
Notes
I use a teaspoon or 2 on each taco, directly on the meat, or fish. I use 2 tablespoons in a bowl of chicken soup. If you are bold enough, you can dip tortilla chips directly in and eat. Best to start with a little ata a time.